





































Sidebar
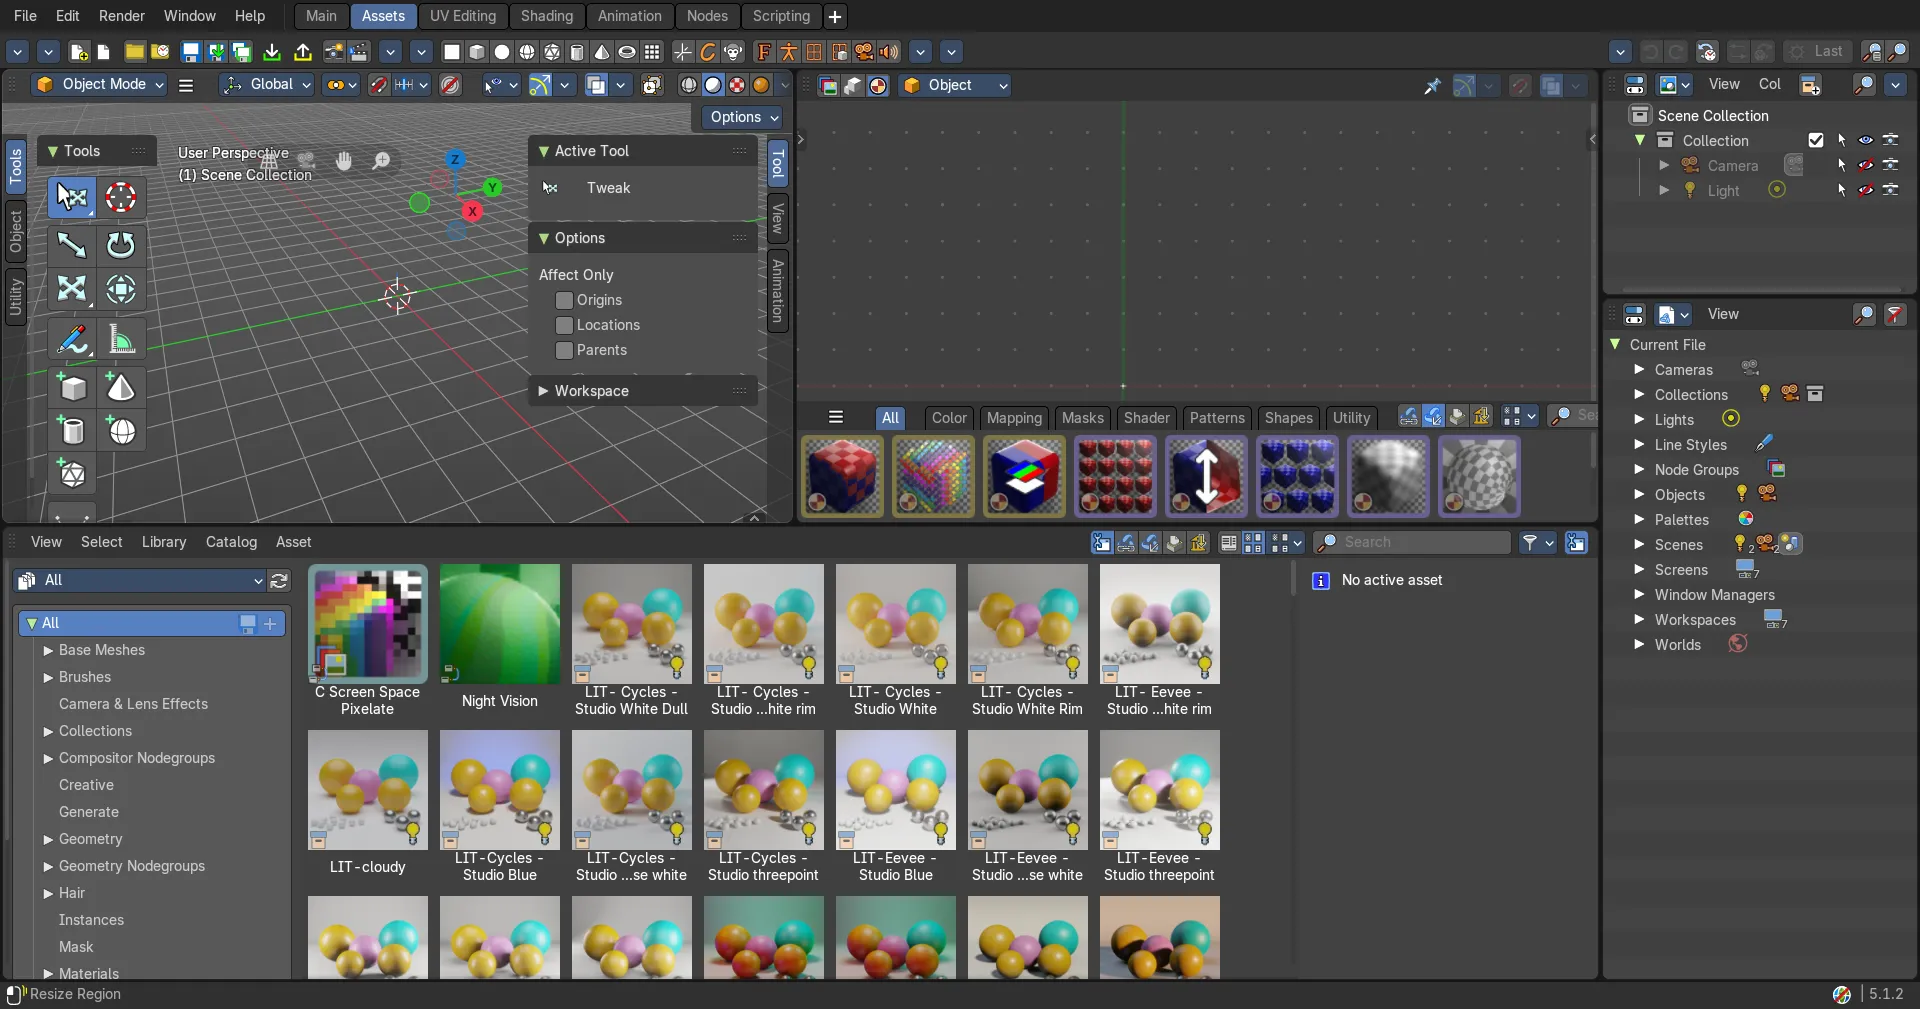
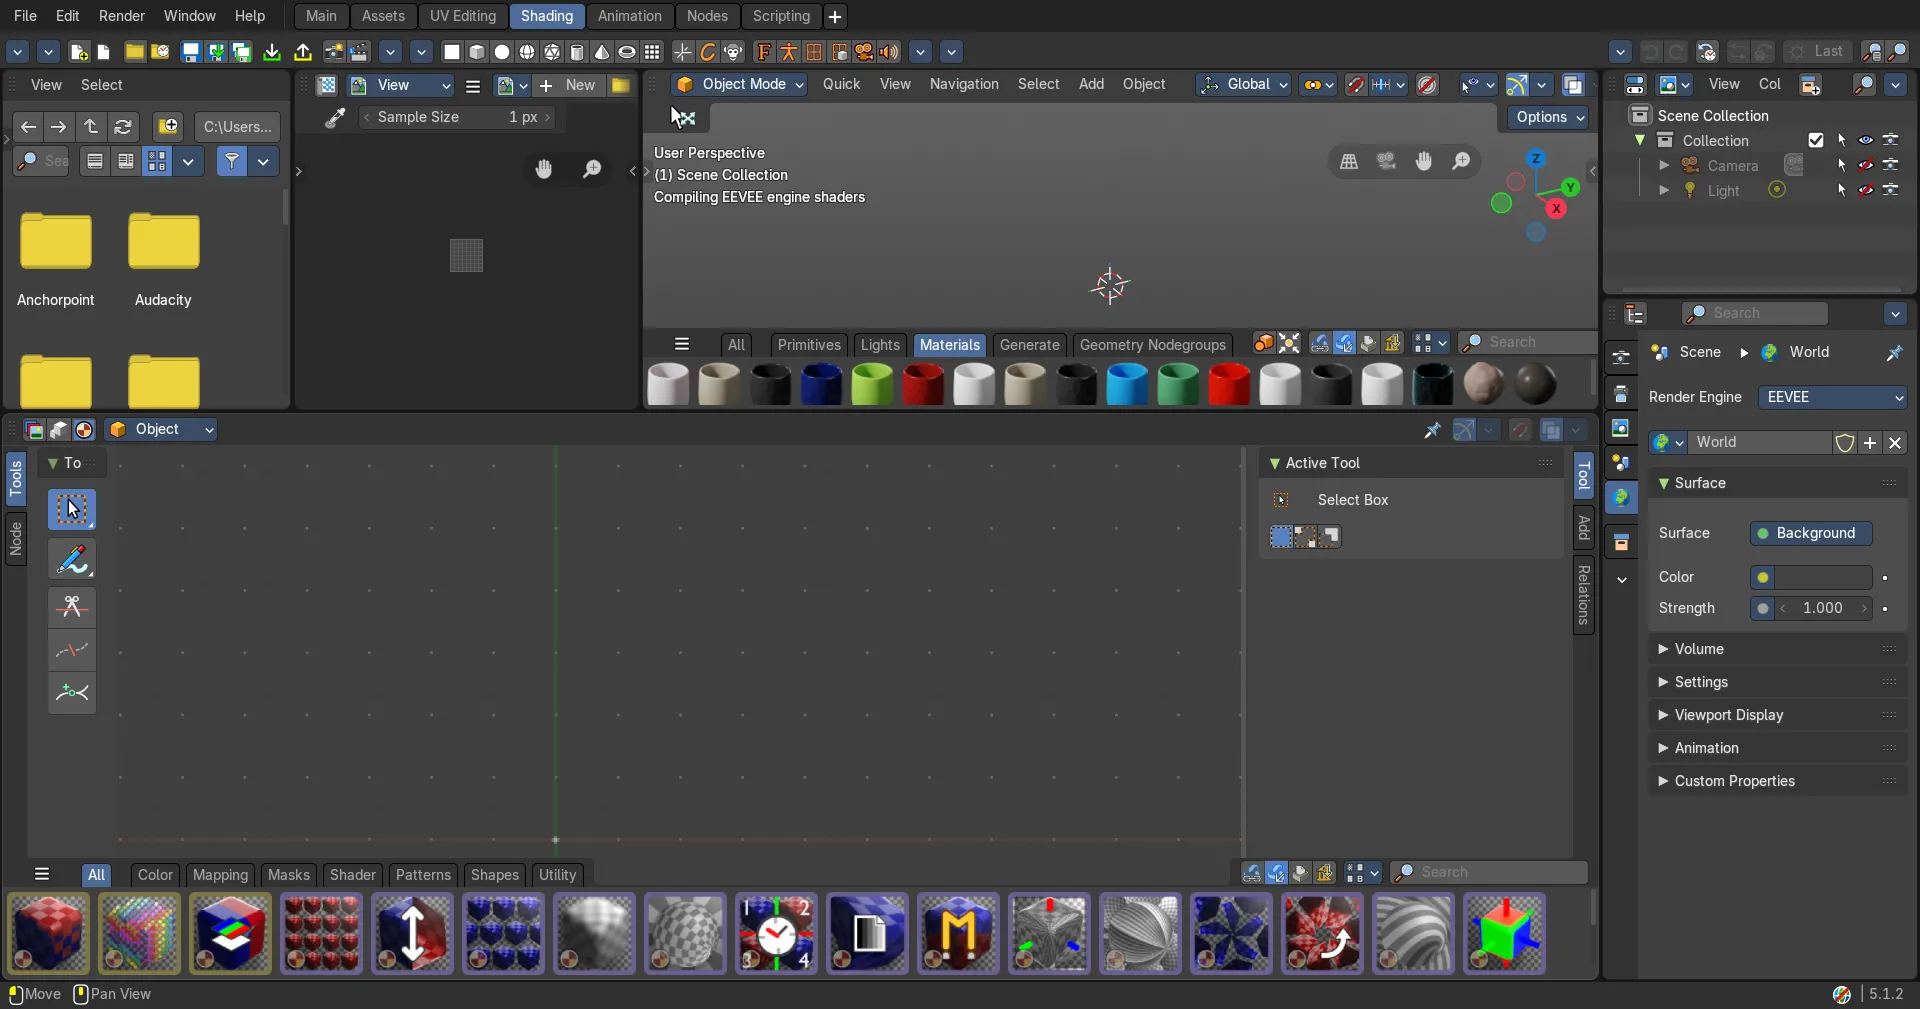
The Image Editor is made of several areas.
Introduction
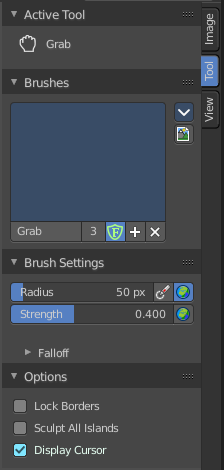
The Image Editor is made of several areas. At the right side you will find the sidebar. Here you will find further options and settings for the Image Editor and its tools.
The tools tab contains panels for functionality of the active tools. The Image tab contains image related settings. And the View tab contains view related options and settings.
Right Click menus
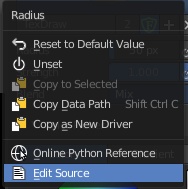
You will open the usual right click menus when clicking with the right mouse at elements in the sidebar. Its content is in big parts self explaining.
The right click menus are explained in the chapter 6 Editors Introduction.
Image Tab
Introduction
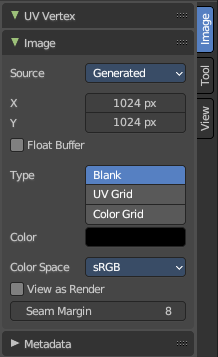
In the Image tabs you can find further options and image settings. These settings changes, dependent of what you have selected. And in what mode you are.
UV Vertex Panel
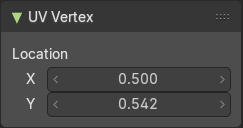
This Panel shows the position of the current selection. And here you can change the position too. The range goes from 0 to 1 of the UV space.
Image Panel
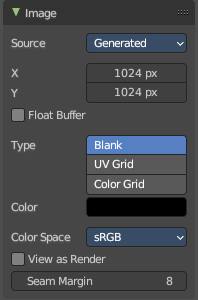
Find image related settings. Size, type, and so on.
Source
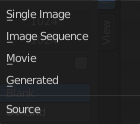
Choose the image type. This type gets usually automatically set. When you create a new image, then this image is generated. When you load an image then the Source switches to Single Image.
Generated images does not have a path.
Source Type Single Image
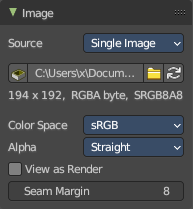
Path edit box

| Entry | What it does |
|---|---|
| Pack | With this button you can pack the movie or the image sequence into the blend file. It gets packed when you save the blend file the next time. |
| Path edit box | See and edit the path to your movie or image sequence files. |
| Open | Open a new movie or image sequence files. A file dialog will appear. |
| Refresh | Reread the movie or image sequence files. |
Color Space
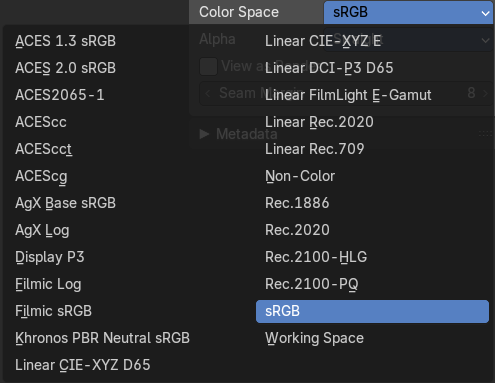
The color space for the image.
Alpha
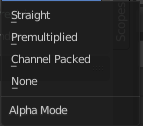
How to calculate the alpha channel.
Half Float Precision
Just with image material that uses 32 bit float. Use just 16 Bit per channel instead of the full 32 bit. This lowers the memory usage while rendering.
View as Render
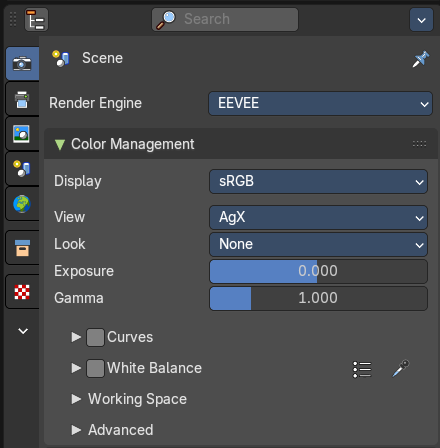
Display the image with using the color management settings. The color management can be adjusted in the properties editor in the Render tab.
Seam Margin
This option belongs to the UV Editor, and has no effect in the Image editor. Take a margin into account when fixing UV seams during painting.
Source Type Movie + Image Sequence
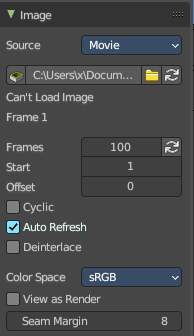
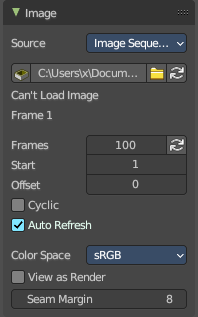
Path edit box

| Entry | What it does |
|---|---|
| Pack | With this button you can pack the movie or the image sequence into the blend file. It gets packed when you save the blend file the next time. |
| Path edit box | See and edit the path to your movie or image sequence files. |
| Open | Open a new movie or image sequence files. A file dialog will appear. |
| Refresh | Reread the movie or image sequence files. |
| Entry | What it does |
|---|---|
| Info string | Some information about the currently loaded movie. Frames, resolution and color space. |
| Frames | The number of frames of the movie or image sequence. · Match Movie Length: Set Users Image Length to the one of this video. |
| Start | The start frame of the movie or image sequence |
| Offset | Offset the number of the frame to use in the animation. -1 means off. |
| Cyclic | Cycle the images in the movie. |
| Auto Refresh | Always refresh image on frame changes. |
| Deinterlace | Deinterlace the movie file on load. |
Color Space
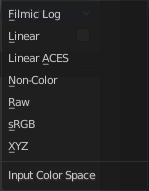
Choose the color space type for the movie or image sequence files.
Alpha
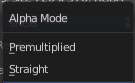
Choose the alpha channel mode. Straight or Premultiplied.
Half Float Precision
Just with image material that uses 32 bit float. Use just 16 Bit per channel instead of the full 32 bit. This lowers the memory usage while rendering.
View as Render
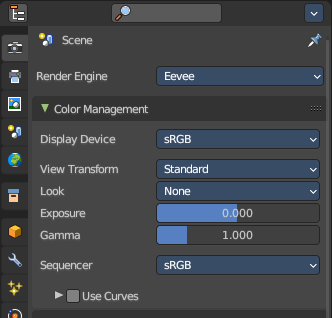
Display the image with using the color management settings. The color management can be adjusted in the properties editor in the Render tab.
Seam Margin
This option belongs to the UV Editor, and has no effect in the Image editor. Take a margin into account when fixing UV seams during painting.
Source Type Generated
X / Y
The image width and height.
Float Buffer
Use a floating point buffer. 8 Bit images uses integers. 32 Bit works with floats.
Generated Type Blank

This type displays an image with one blank color
Color
The color of the blank image.
Generated Type UV Grid
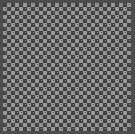
This type displays a with a black and white checker texture but colored dots.
Generated Type Color Grid
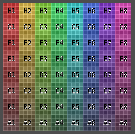
This type displays a with a colored checker texture with numbers.
Color Space
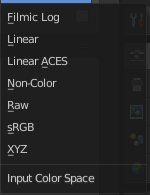
Choose the color space type for the image.
Half Float Precision
Just with image material that uses 32 bit float. Use just 16 Bit per channel instead of the full 32 bit. This lowers the memory usage while rendering.
View as Render
Display the image with using the color management settings. The color management can be adjusted in the properties editor in the Render tab.
Seam Margin
This option belongs to the UV Editor, and has no effect in the Image editor. Take a margin into account when fixing UV seams during painting.
Source Type Udim
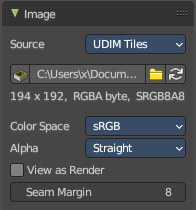
UDIM is an enhancement to the UV mapping and texturing workflow. And does not belong here. But in the UV Editor. It is just in the list because it shares the same menus with the UV Editor.
Info string
Some information about the currently loaded image. Resolution and color space.
Color Space
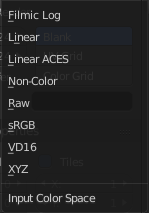
Choose the color space type for the movie or image sequence files.
Alpha
Choose the alpha channel mode. Straight or Premultiplied.
Half Float Precision
Just with color space sRGB. Use just 16 Bit per channel instead of the full 32 bit. This lowers the memory usage while rendering.
View as Render
Display the image with using the color management settings. The color management can be adjusted in the properties editor in the Render tab.
Seam Margin
This option belongs to the UV Editor, and has no effect in the Image editor. Take a margin into account when fixing UV seams during painting.
UDIM Tiles Panel
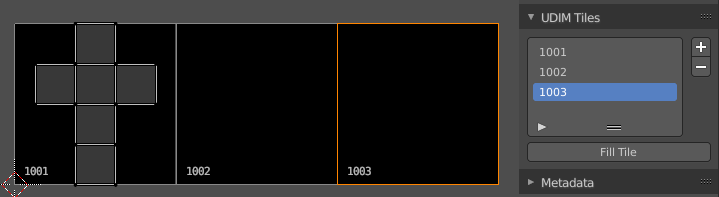
Manage UDIM tiles. This panel shows with source mode UDIM.
UDIM Tile List
List all UDIM tiles associated with the main index (1000 tile). Double clicking on the tile name allows renaming.
| Entry | What it does |
|---|---|
| Number | The starting tile index number. UDIMs must start with the 1001 tile and typically increase in incremental order. |
| Drag Handler | The two vertical lines at the end is a handler with which you can expand the list. |
| Search Field | You can expand a search field at the bottom of the list. Type in your term and hit enter to filter for your term. · Invert: Exclude the search term instead of searching for it. · Sort by Name: Sort the List by name. |
Add Tile
Adds new UDIM tiles to the group.
Add Tile dialog
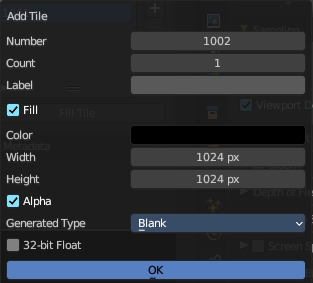
| Entry | What it does |
|---|---|
| Number | The UDIM tiles are identified by the number. It is four digits, and with increasing number. |
| Count | How many tiles to add. |
| Label | Leave blank to use the Number as the name in the list. |
| Fill | Fill the new tile with a generated image. |
| Color | The fill color for generated type Blank. |
| Width / Height | The dimensions of the image. |
| Alpha | Does the image have an alpha channel. |
Generated Type
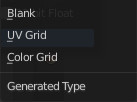
The generated texture type.
32 bit float
Generate an image with 32 bit floating point bit depth.
Remove Tile
Remove the selected UDIM tile. Note that the place in the texture will then be blank. The tiles does not resort. The next created UDIM tile will then be placed in this gap.
Fill Tile
Occupy the UDIM tile with a Generated Image. You can change the fill type and texture tile size of a UDIM tile also afterwards with this fill tool. Note that this overwrites the settings of the currently active UDIM tile.
Warning: If a tile is not filled, it will not be saved with the image.
Fill tile dialog
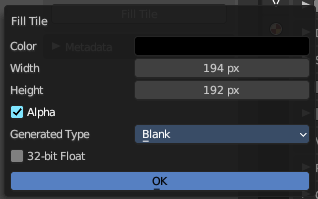
| Entry | What it does |
|---|---|
| Color | The fill color for generated type Blank. |
| Width / Height | The dimensions of the image. |
| Alpha | Does the image have an alpha channel. |
Generated Type
The generated texture type.
32 bit float
Generate an image with 32 bit floating point bit depth.
UDIM Workflow
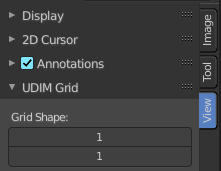
First set up the grid shape for the UDIM tiles.
This panel is in the View tab. And will vanish in the moment you add any texture. So do this setup beforehand. There is no way to show and change this grid panel afterwards.
Unwrap your mesh.
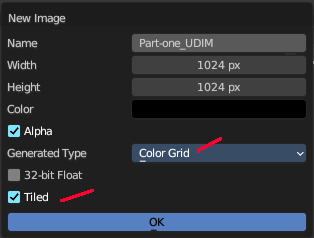
Add a generated texture, with generated type Color Grid (optional ), and Tiled ticked.
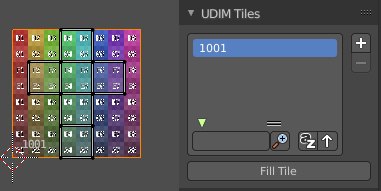
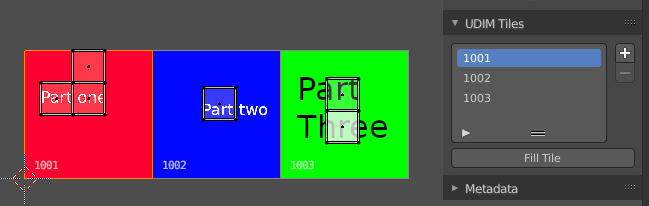
In the viewport you will now see one square UV space again, with the colored background image. And we have our first UDIM tile in the UDIM Tile list.
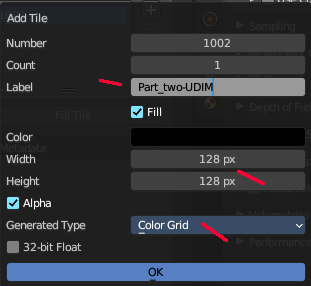
In the Tile list click at the Add button. And add another image. This time with another resolution.
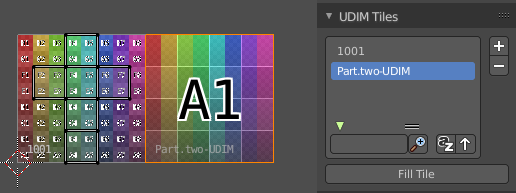
The result is that we have two tiles besides each other, with different resolution.
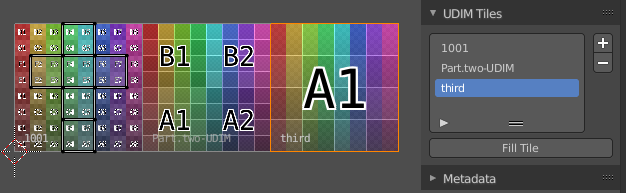
Create a third one. Or as much as you need.
Next move the UV parts to the texture areas where you need them.
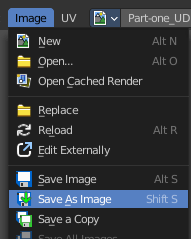
Now save the image. And by saving the one UDIM image all the sub images of this UDIM texture gets saved too.

Save the blend file. Modify the textures to your needs.
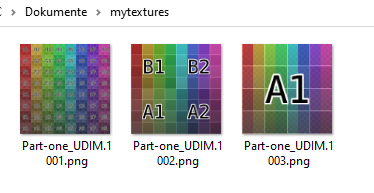
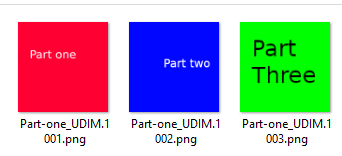
To reload the modified textures either save, close and open Bforartists and reload the scene. Or use Open Image to open the first image of the UDIM textures. The rest will load automatically.
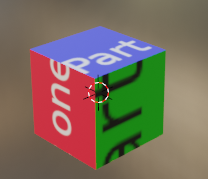
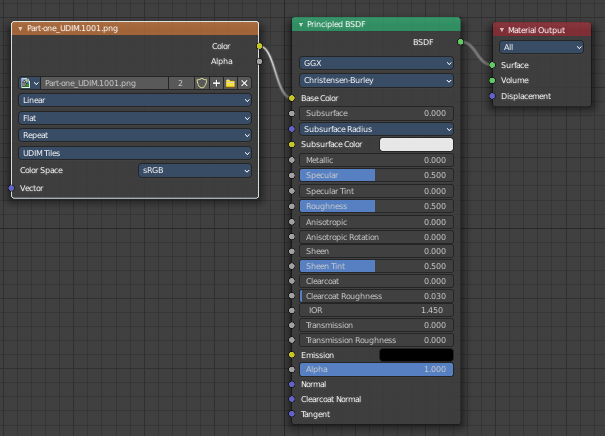
Next create a material. Add a texture. Choose the UDIM texture. And the material will now render with the UDIM textures applied.
Metadata Panel
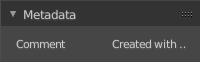
Displays existing meta data of the image file.
Tool Tab
Tool Tab
The tool tab contains the settings from the tools in the tool shelf. These settings are already described in the tool shelf chapters. So here is nothing left to document.
Please have a look in the tool shelf chapters for the corresponding tools.
View Tab
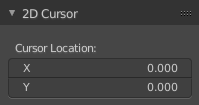
See and edit the position of the 2D cursor.
View Tab
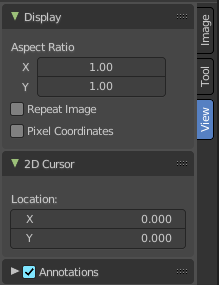
The view tab contains some view related settings.
Display Panel
Aspect Ratio
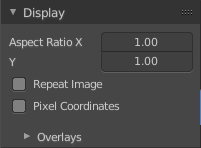
Set the aspect ratio of the image.
Repeat Image
Shows the image not only in the UV range of 0 to 1, but repeats it across the whole canvas. It tiles.
Pixel Coordinates
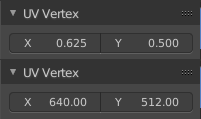
Shows the coordinates in the image tab in the UV Vertex panel in pixel coordinates instead of the UV range of o to 1.
Annotations Panel
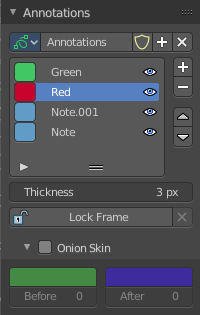
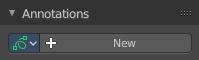
Manage the Annotation layers and materials.
When you don't have drawn an annotation yet then the panel just contains a New button.
Annotations prop
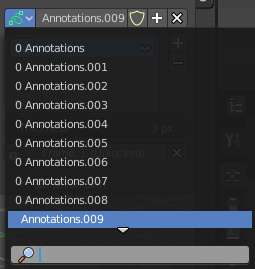
Add, remove and rename new annotations.
Drop down box
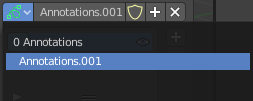
A list of the available annotation layers.
| Entry | What it does |
|---|---|
| Edit Box | The name of the current annotation. You can rename the annotation to your needs here. |
| Fake User | Assign a fake user to this annotation. Fake users is an odd concept to keep data in the scene even if it has no user somewhere. The fake user is then a dummy user so that the object is not deleted when saving the scene. |
| Add Annotation | Add a new annotation. |
| Delete Annotation | Delete the annotation. |
List of Annotation Strokes

Here you see your Annotation layers for the current Annotation. Every layer can have an own color.
At the right side you find buttons to sort them and to add and remove new Annotation layers.
You can change the color by clicking at the color field. A color dialog will pop up. You can rename annotation layers by double clicking at it.
The eye icon allows you to make it invisible And it has a search field.
| Entry | What it does |
|---|---|
| Thickness | The thickness of the annotation stroke. |
| Frame Locked/Unlocked | Lock frame displayed by current layer. This toggles whether the active layer is the only one that can be edited. |
Onion Skin
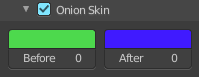
Enable Onion Skinning.
Onion Skinning allows to show ghosts of the keyframes before and after the current frame. In this sub panel you can adjust the color of the onion skin frames.
With the numbers below the colors you can define how many frames before or after are displayed that way.